Hanging lights without nails is a solved problem — the difficulty is that the seven common methods fail in completely different ways, and most people pick one based on a video rather than on their wall. A method that holds a paper lantern on painted drywall will drop a glass fixture on cinder block without warning.
So match the method to two things: what the wall is made of and what the light weighs. Everything below is organised around those two variables.
The Quick Comparison
| Method | Best surface | What it suits | Removal risk |
|---|---|---|---|
| Adhesive hooks and strips | Smooth painted drywall, tile, glass | Light string lights, small fixtures | Low if warmed before peeling |
| Magnetic mount | Steel frames, lockers, cabinets | Rechargeable lights, small fixtures | None — nothing is stuck down |
| Tension rod | Two facing walls or a recess | String lights across a window or nook | None, but needs the right span |
| Over-door hook | Any standard door | Wreaths, garlands, a hanging lamp near a door | None, may mark the door top |
| Cord clips on existing hardware | Anywhere with a rail, pipe or handle | Routing cables and small light runs | None |
| Zip ties to furniture | Bed frames, shelves, chair legs | Runs along furniture rather than wall | None, but cut-tie ends can scratch |
| Adhesive plate plus magnet | Smooth painted drywall | Lights you need to lift off to charge | Low, plate stays put |
1. Adhesive Hooks and Strips
The default answer, and it works better than its reputation suggests — most failures come from three avoidable mistakes:
- Applying to a cold or dusty wall. Wipe with a dry cloth and let the wall reach room temperature first; adhesive does not bond properly below about 10°C.
- Hanging the load immediately. Most strips want an hour at full contact before weight goes on.
- Pulling outward instead of parallel. The strip is designed to stretch and release; pulling perpendicular takes paint with it.
Skip them entirely on wallpaper, on paint less than a month old, and on textured block.
2. Magnetic Mounts
The only method with genuinely zero wall risk, because nothing is adhered to the wall at all. Mount the light on something steel: a bed frame, a filing cabinet, a locker, a metal shelf upright, the side of a fridge.
This is also the best method for lights you need to take down regularly — a rechargeable light lifts straight off its magnet for charging and snaps back without re-aligning anything.
3. Tension Rods
For a run of string lights across a window, an alcove or between two opposite walls, a tension rod is stronger and cleaner than adhesive and leaves nothing behind. Two constraints: the span has to be within the rod's rated range, and both surfaces need to be solid enough to take the pressure — drywall is fine, but a hollow partition can bow.
Do not use a tension rod where it will be knocked — a doorway people walk through, or above a bed.
4. Over-Door Hooks
A metal bracket that slips over the top of a door and gives you a hanging point. Good for a garland or a lightweight pendant near a doorway, and completely removable. Two caveats: the door must still close cleanly, and the bracket can mark the top edge of the door, so check before a final inspection.
5. Cord Clips on Existing Hardware
The most underused method. Any existing rail, pipe, curtain rod, handle or cable tray is a free mounting point. Clip or tie the light run to it and you have added nothing to the wall. It is how you get a light run across a kitchen without a single adhesive pad.
6. Zip Ties to Furniture
For runs that follow furniture rather than architecture — along a bed frame, up a bookshelf upright, around a desk leg — a zip tie is faster and stronger than any adhesive. Trim the tail flush and file the cut end, because a sharp tie end at ankle height is a genuine scratch hazard.
7. Adhesive Plate Plus Magnet
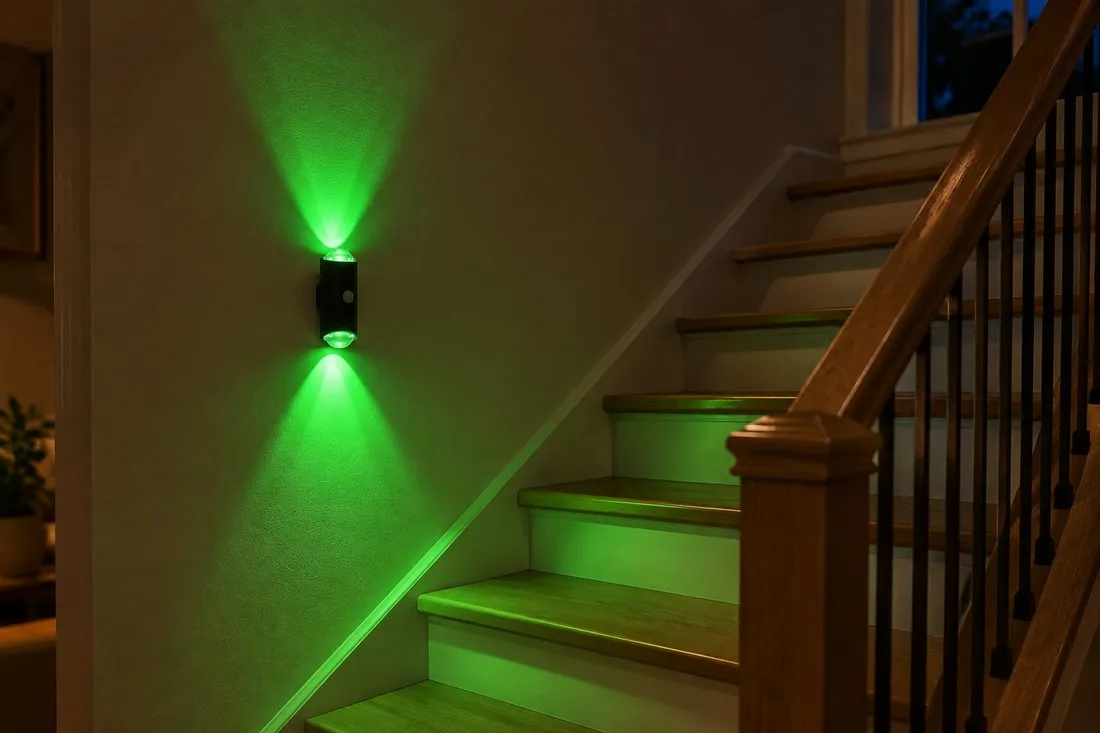
The combination used by most rechargeable wall lights: a thin plate adheres to the wall, and the light attaches to the plate magnetically. You get the placement freedom of an adhesive with the removability of a magnet, because the light comes off for charging without disturbing the plate.
Note the failure mode: the plate is only as good as the wall. On smooth painted drywall it holds well; on textured block it does not, and you should move to method 2 or 6 instead.
Match the Method to the Wall
- Smooth painted drywall — all seven work. Prefer adhesive plate plus magnet for lights.
- Painted cinder block or brick — magnets on furniture, zip ties, or a tension rod. Adhesive is a losing bet.
- Wallpaper — magnets, tension rods, over-door hooks, zip ties. Nothing adhesive.
- Tile or glass — adhesive works well and removes cleanly with a little warmth.
- Wood panelling — adhesive works, but test on a hidden patch first; some finishes lift.
What Not to Do
- Hot glue. It bonds to paint more strongly than to the light, and it takes the paint with it.
- Duct tape or packing tape. Residue that needs solvent to remove, which is worse than the hole would have been.
- Staples into drywall. They are nails with a different name, and they are exactly what the lease prohibits.
- Adhesive putty on painted walls. It leaves an oil mark that shows through repainting.
- Hanging more weight than the mount is rated for. For a light under a pound this is rarely an issue; for a garland with glass ornaments it always is.
Removing Any of Them Without Damage
- Photograph the wall before you mount anything.
- Warm adhesive with a hair dryer on low for 20-30 seconds before peeling.
- Peel slowly and parallel to the surface, supporting the wall with your free hand.
- Clean residue with isopropyl alcohol on a cloth — not acetone, not an abrasive pad.
- If paint lifts, report it rather than hiding it. Reported wear is normal; discovered damage is a charge.
Pick by wall, not by product photo. That one habit prevents nearly every nail-free mounting failure.
Mount It in Seconds, Take It Down Clean
Magnetic, USB-C rechargeable lights with an adhesive plate — no nails, no wiring, no marks at move-out.